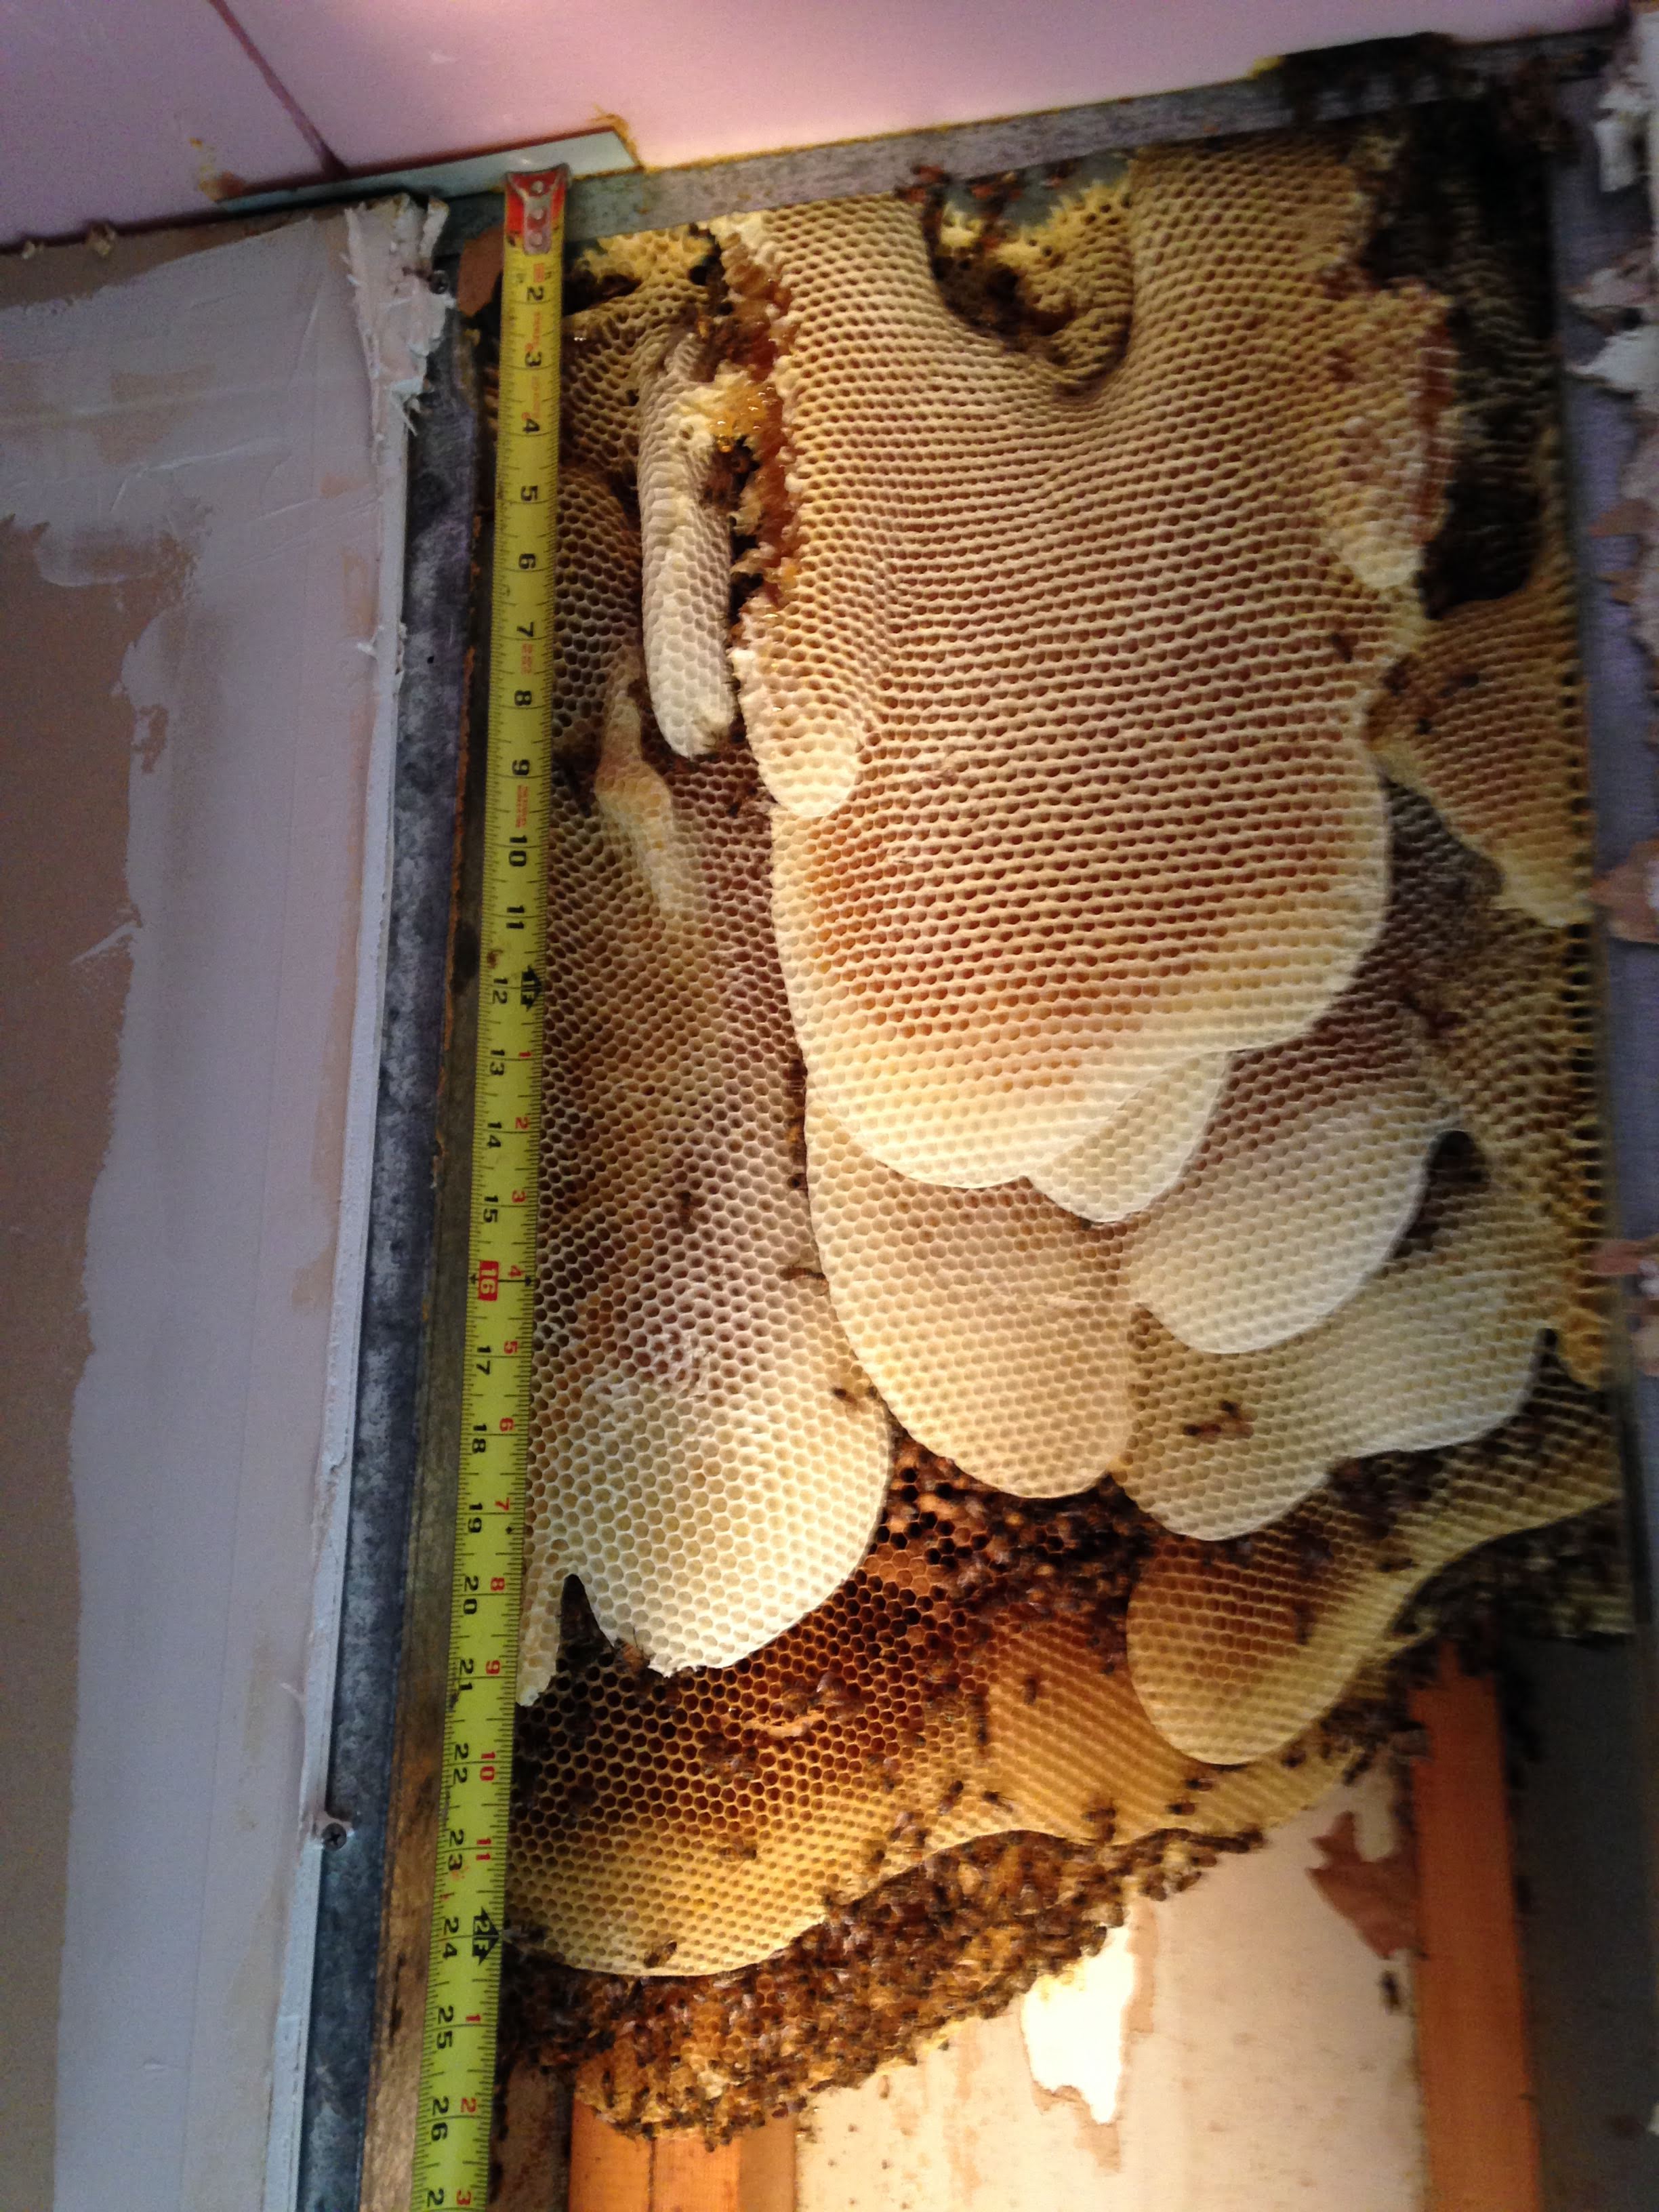
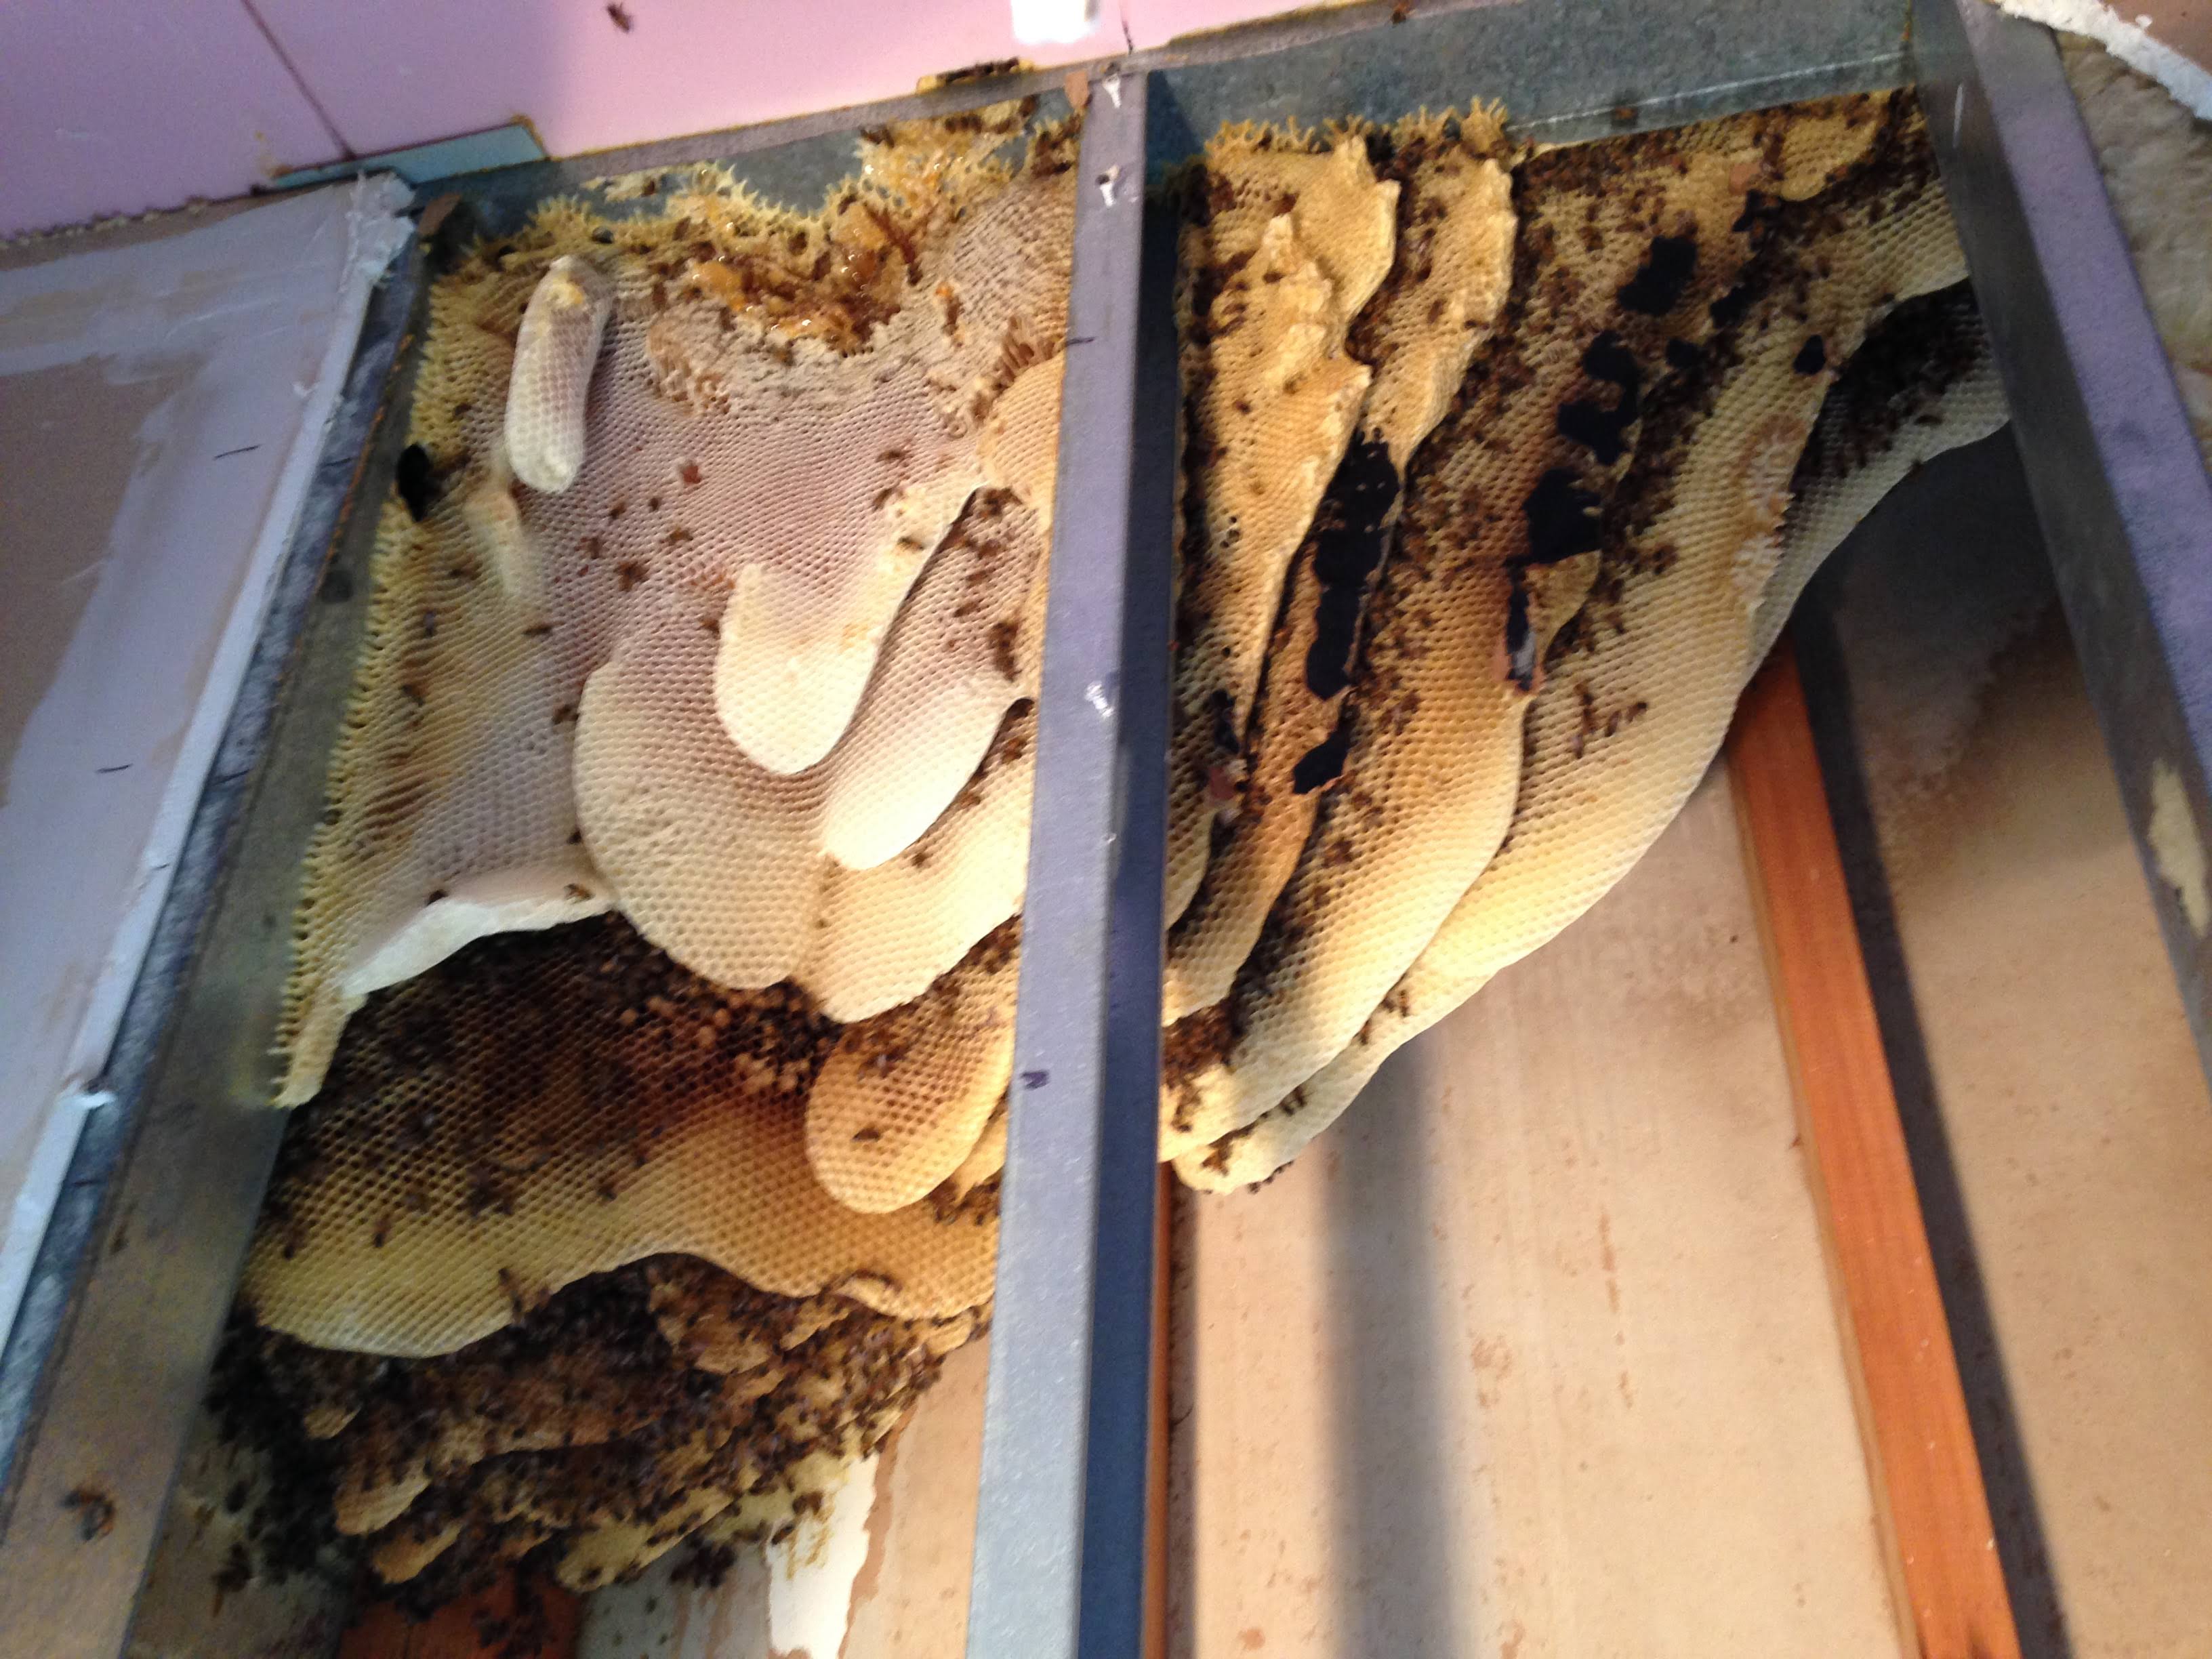
This was a two day job in a very small room on the 5th floor. We agreed to do this job on a Saturday when no one would be in the building. Little did we know just how many bees and how much time this job was going to take. I was less than giddy but my husband was all business and confident. We are the Friends Hill Apiary duo, so of course I put my big-girl suite on and went in with a crooked smile on my face!
Once I realized we had to use the less than appealing, caged freight elevator, I was even less inclined. (Did I mention that I am claustrophobic?) The back halls were pitch black and we had to use our cell-phone lights to find our way down the hall before we could turn on any lights. Reminding thoughts that my husband is allergic to honeybee stings wasn’t helpful and I needed to remain calm if I were to need my emergency wit. #–I–can–do–this!
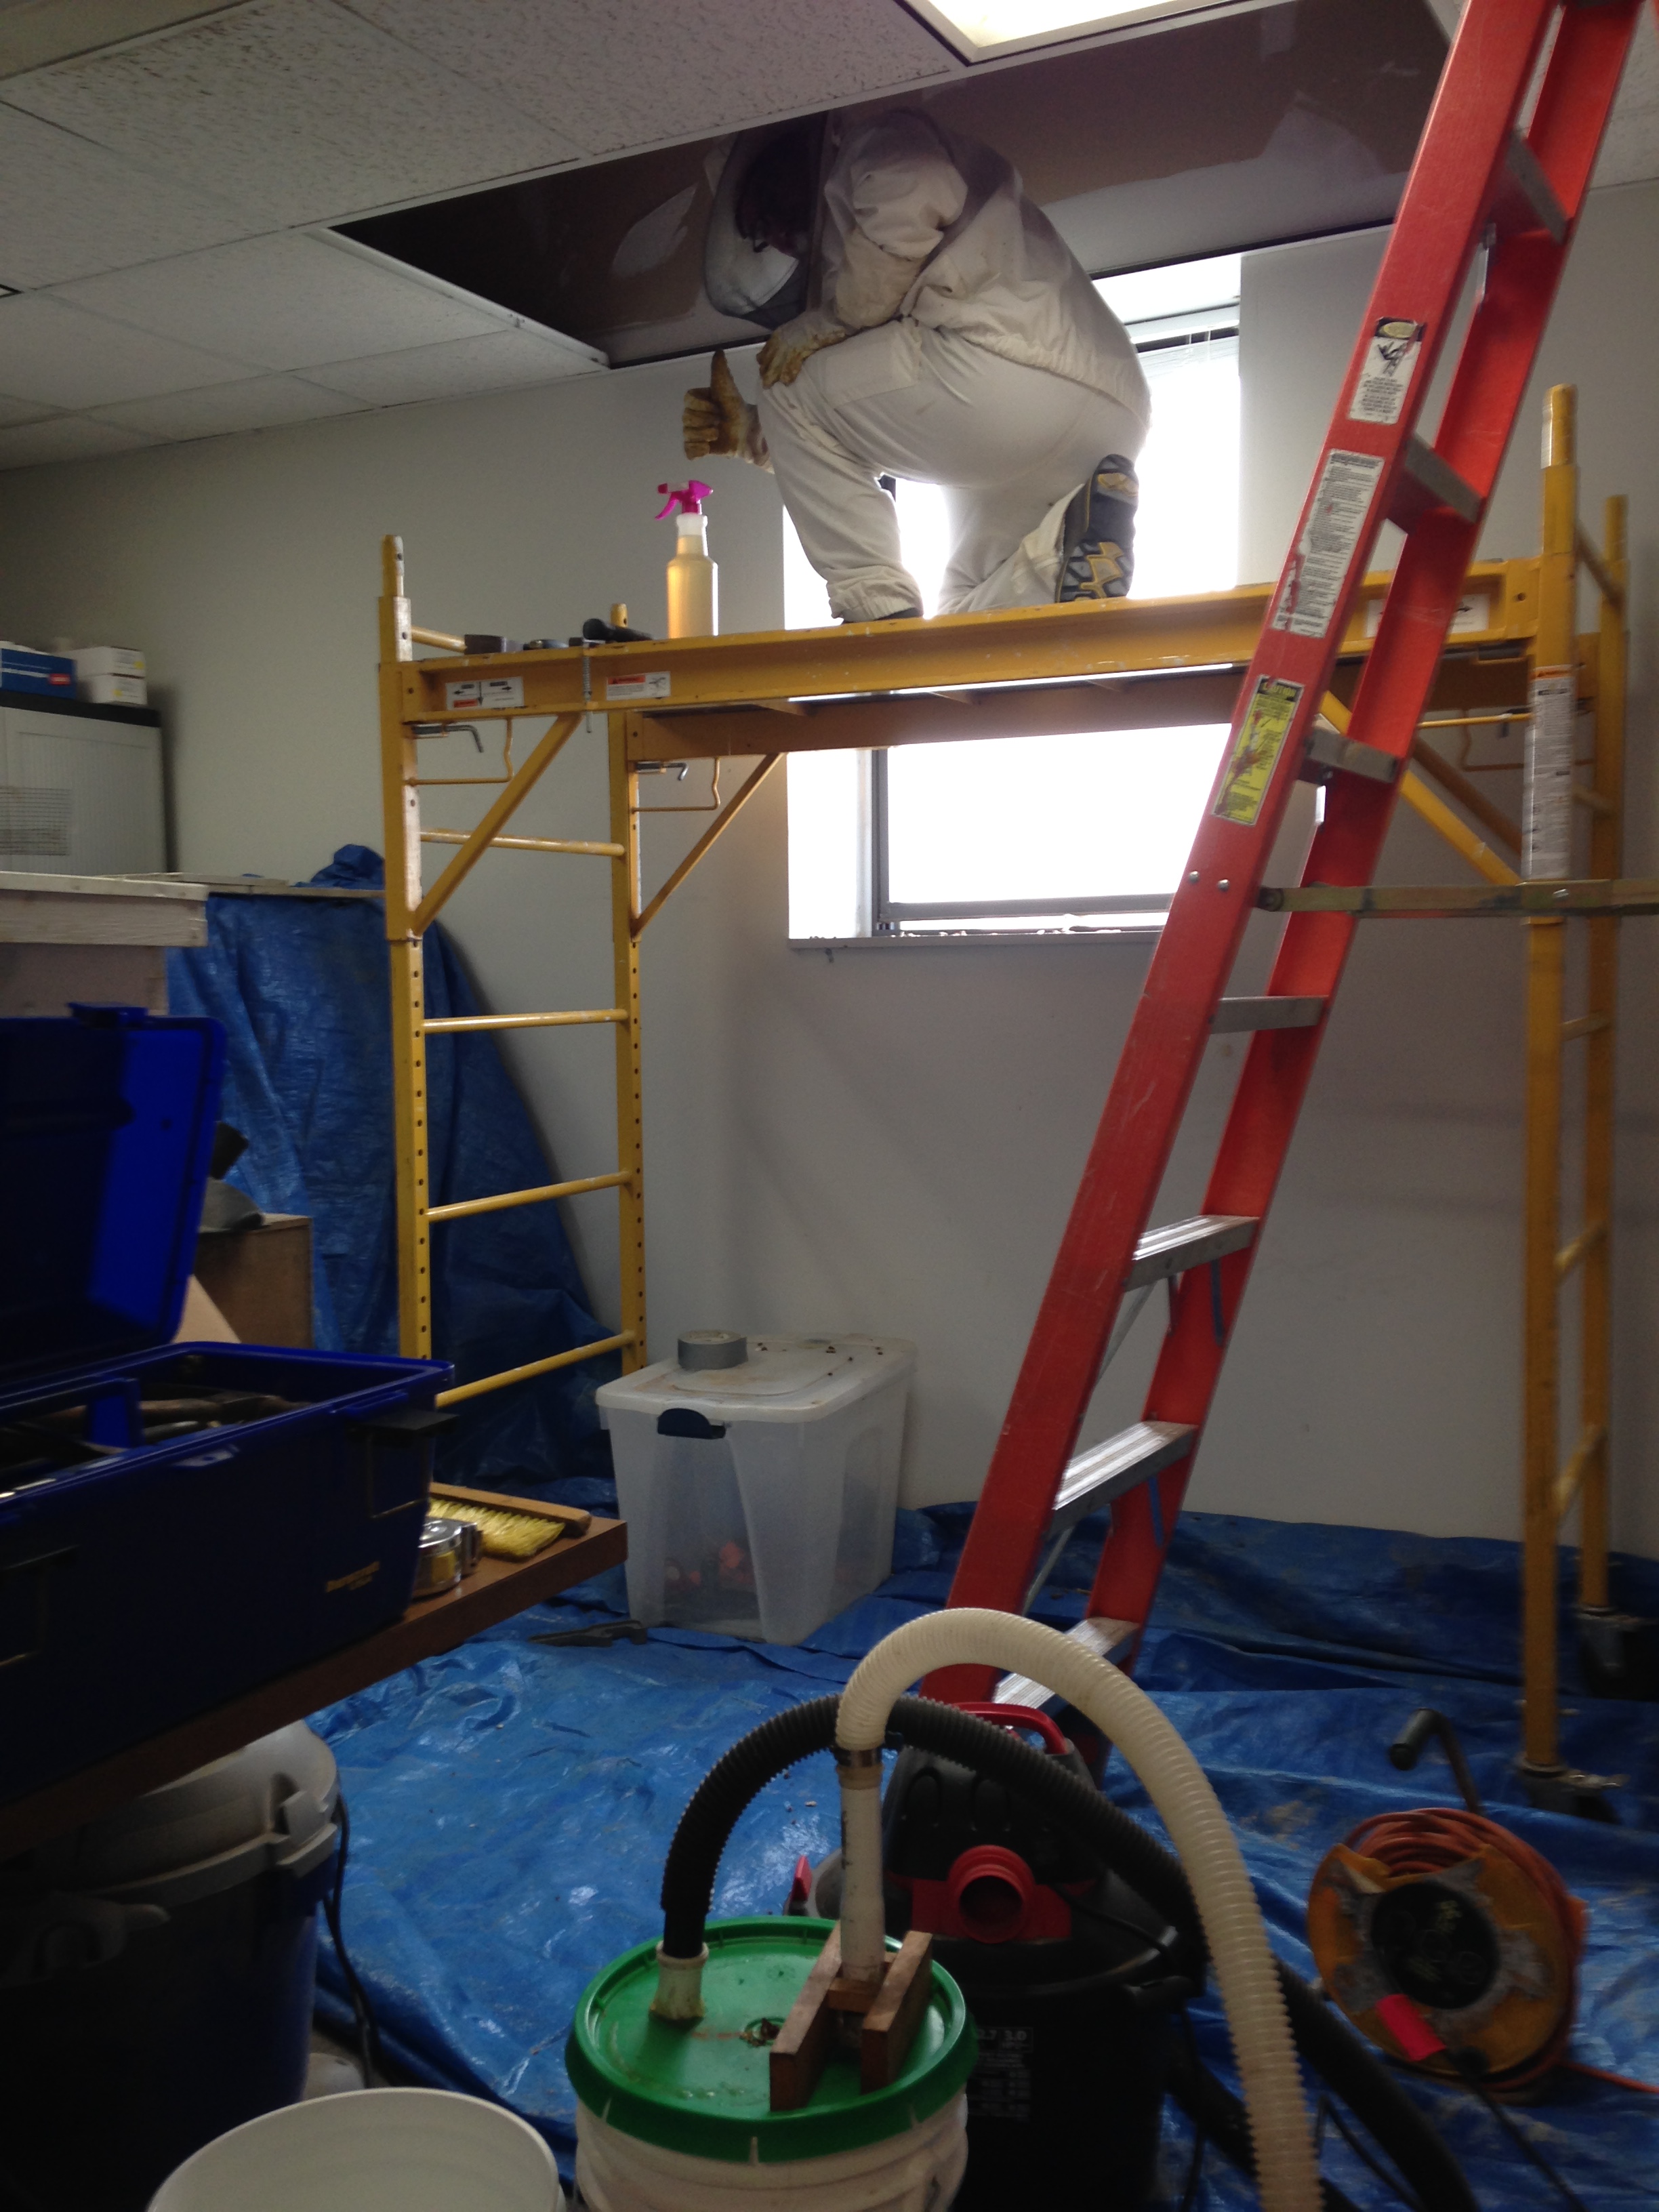
Thankfully there were truck dollies for us to use and although with all of our equipment, we still had to make multiple trips. Once outside the small office room door, we began our final plan of action. We covered the floor and any items left in the room with large painter’s cloths and tarps. With the scaffold set up, we organized our tools in the order we would use them, unrolled garbage bags and donned our gloves. We’ve done this so many times that we have learned to have more equipment than we think we’ll need, because once we get started, it’s not something we can just stop in the middle of to go get tools. Tips: If you have an extra staple gun and your favorite has a tendency to jam… take the other one too. Duct tape, duct tape, duct tape… I can’t stress that enough! The hose on our Home-made Bee-Vac cracked and the high pitched whistle would have been unbearable without the duct tape. Rubber bands… it’s SO hard to find good ones. We use them to stretch over empty deep frames so that we have a way to attach the honeycomb that we’ll will be removing from the cut-out colony.
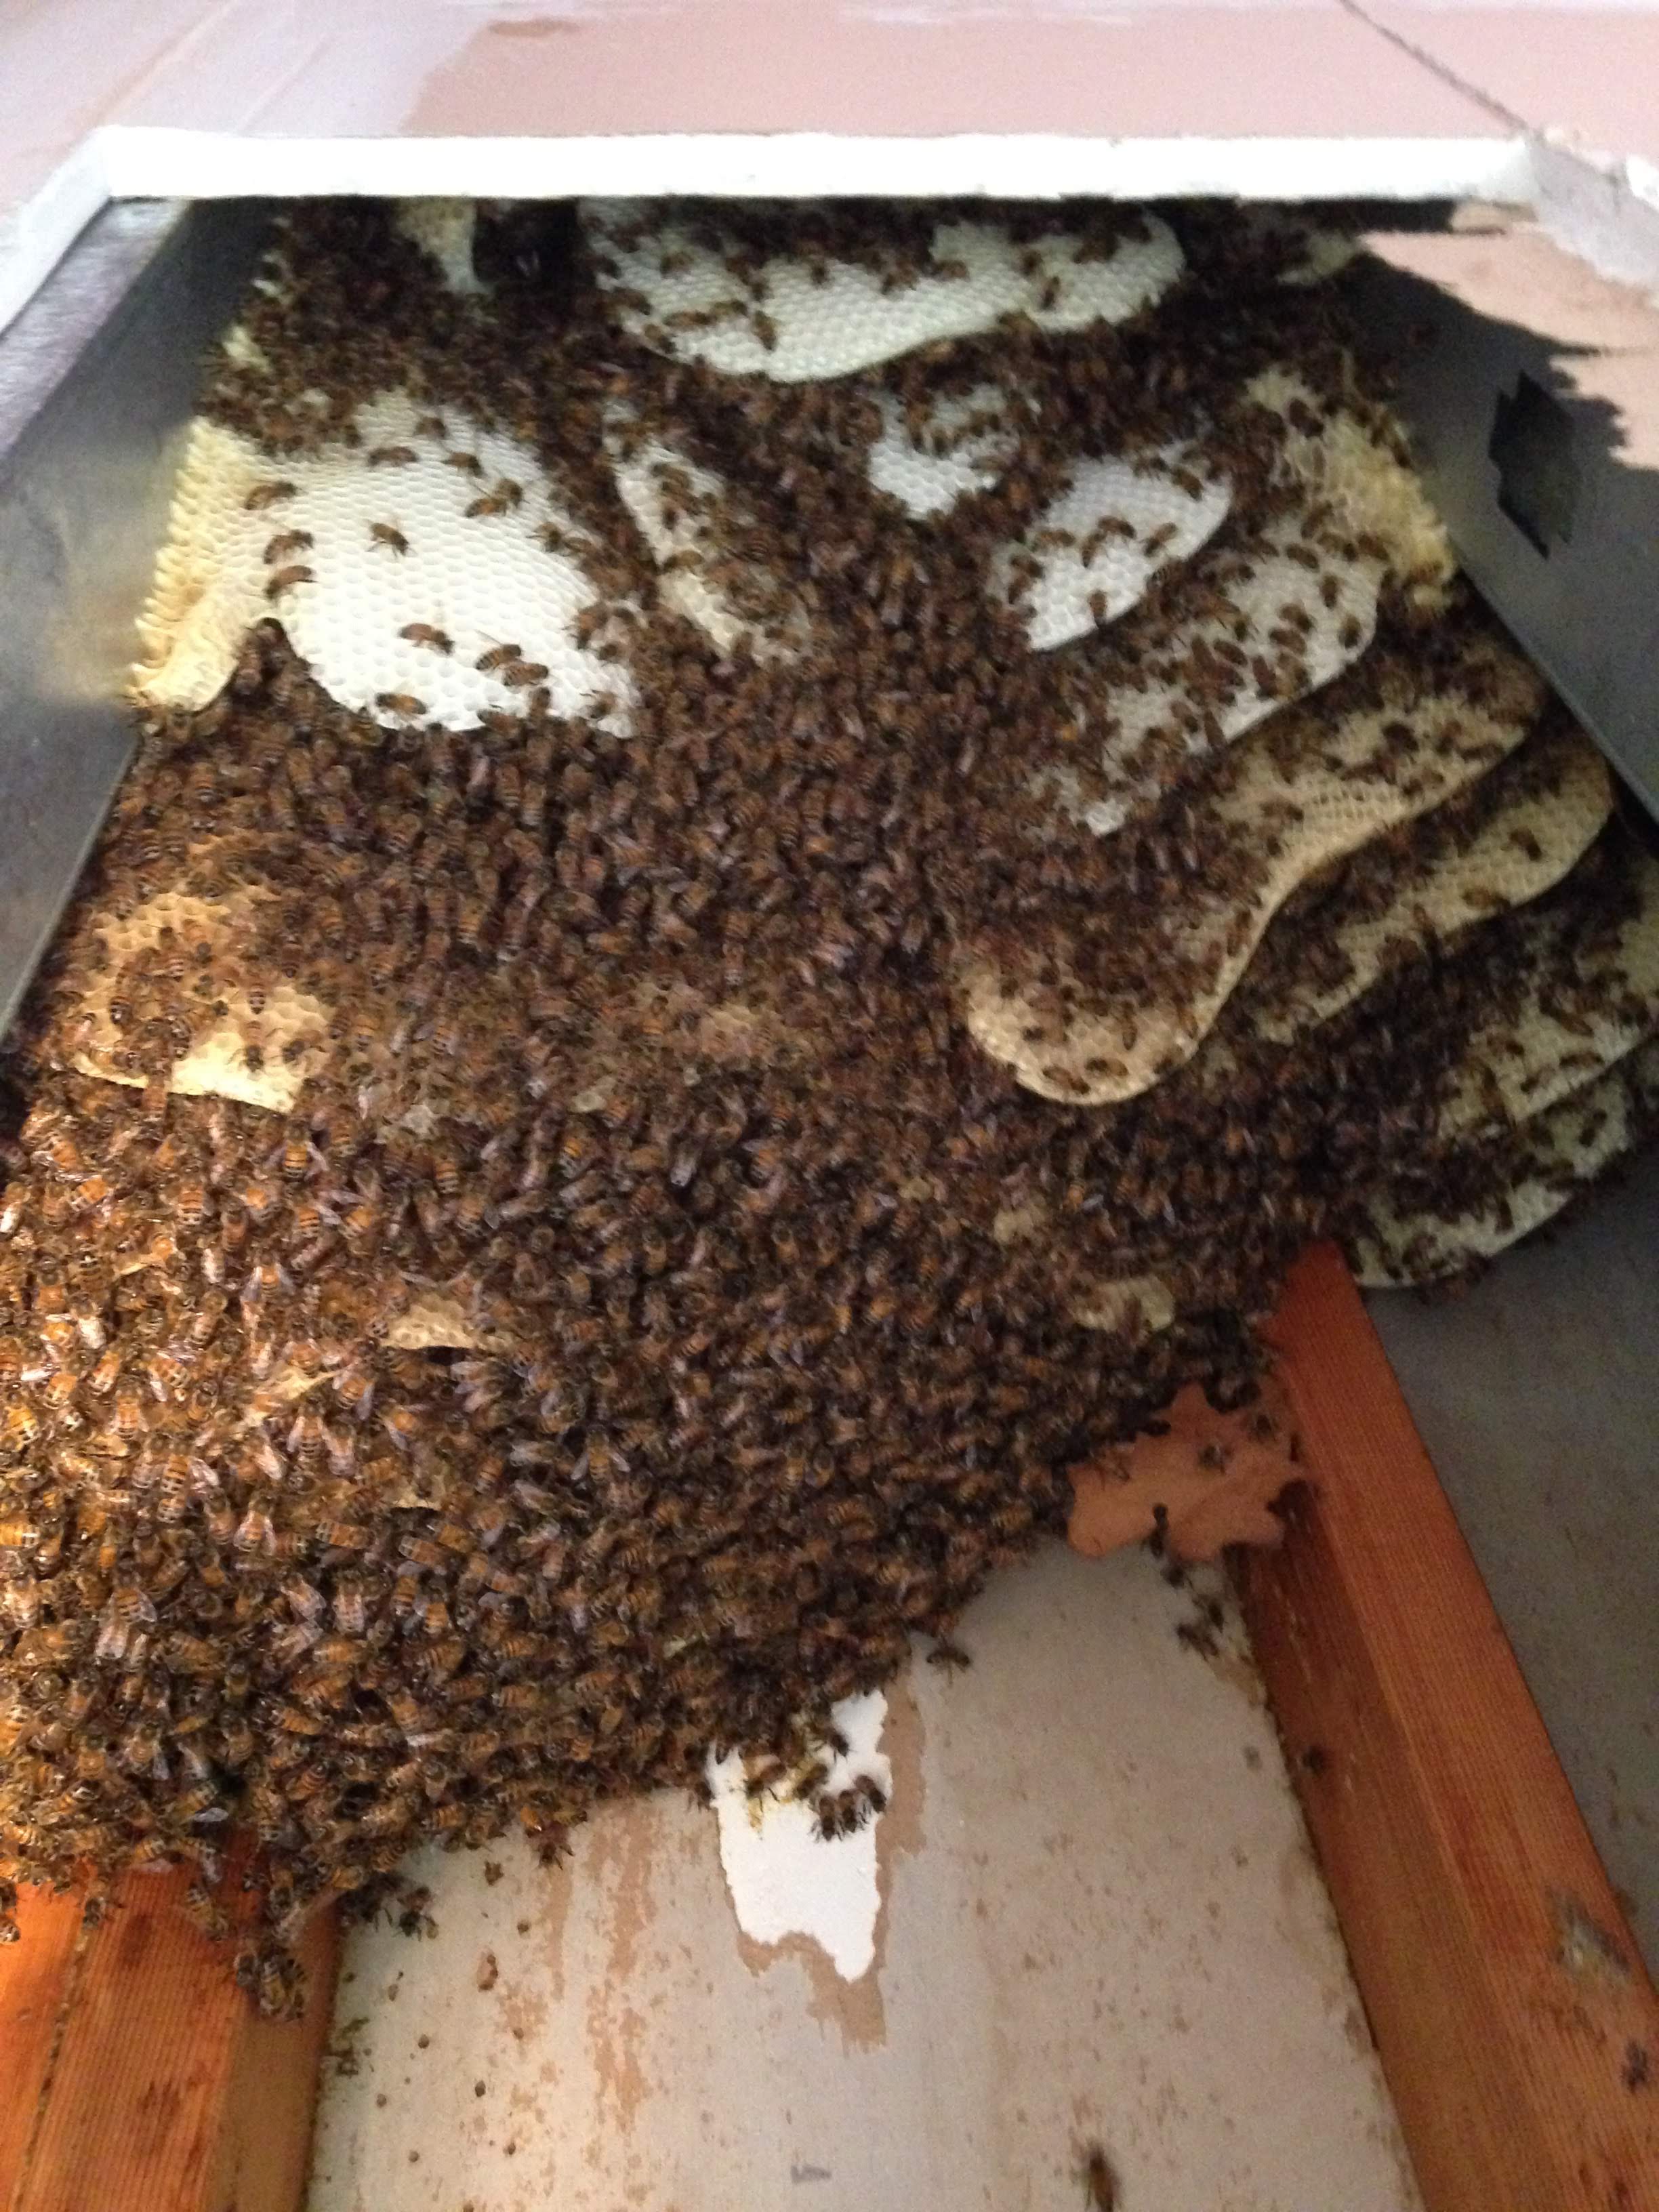
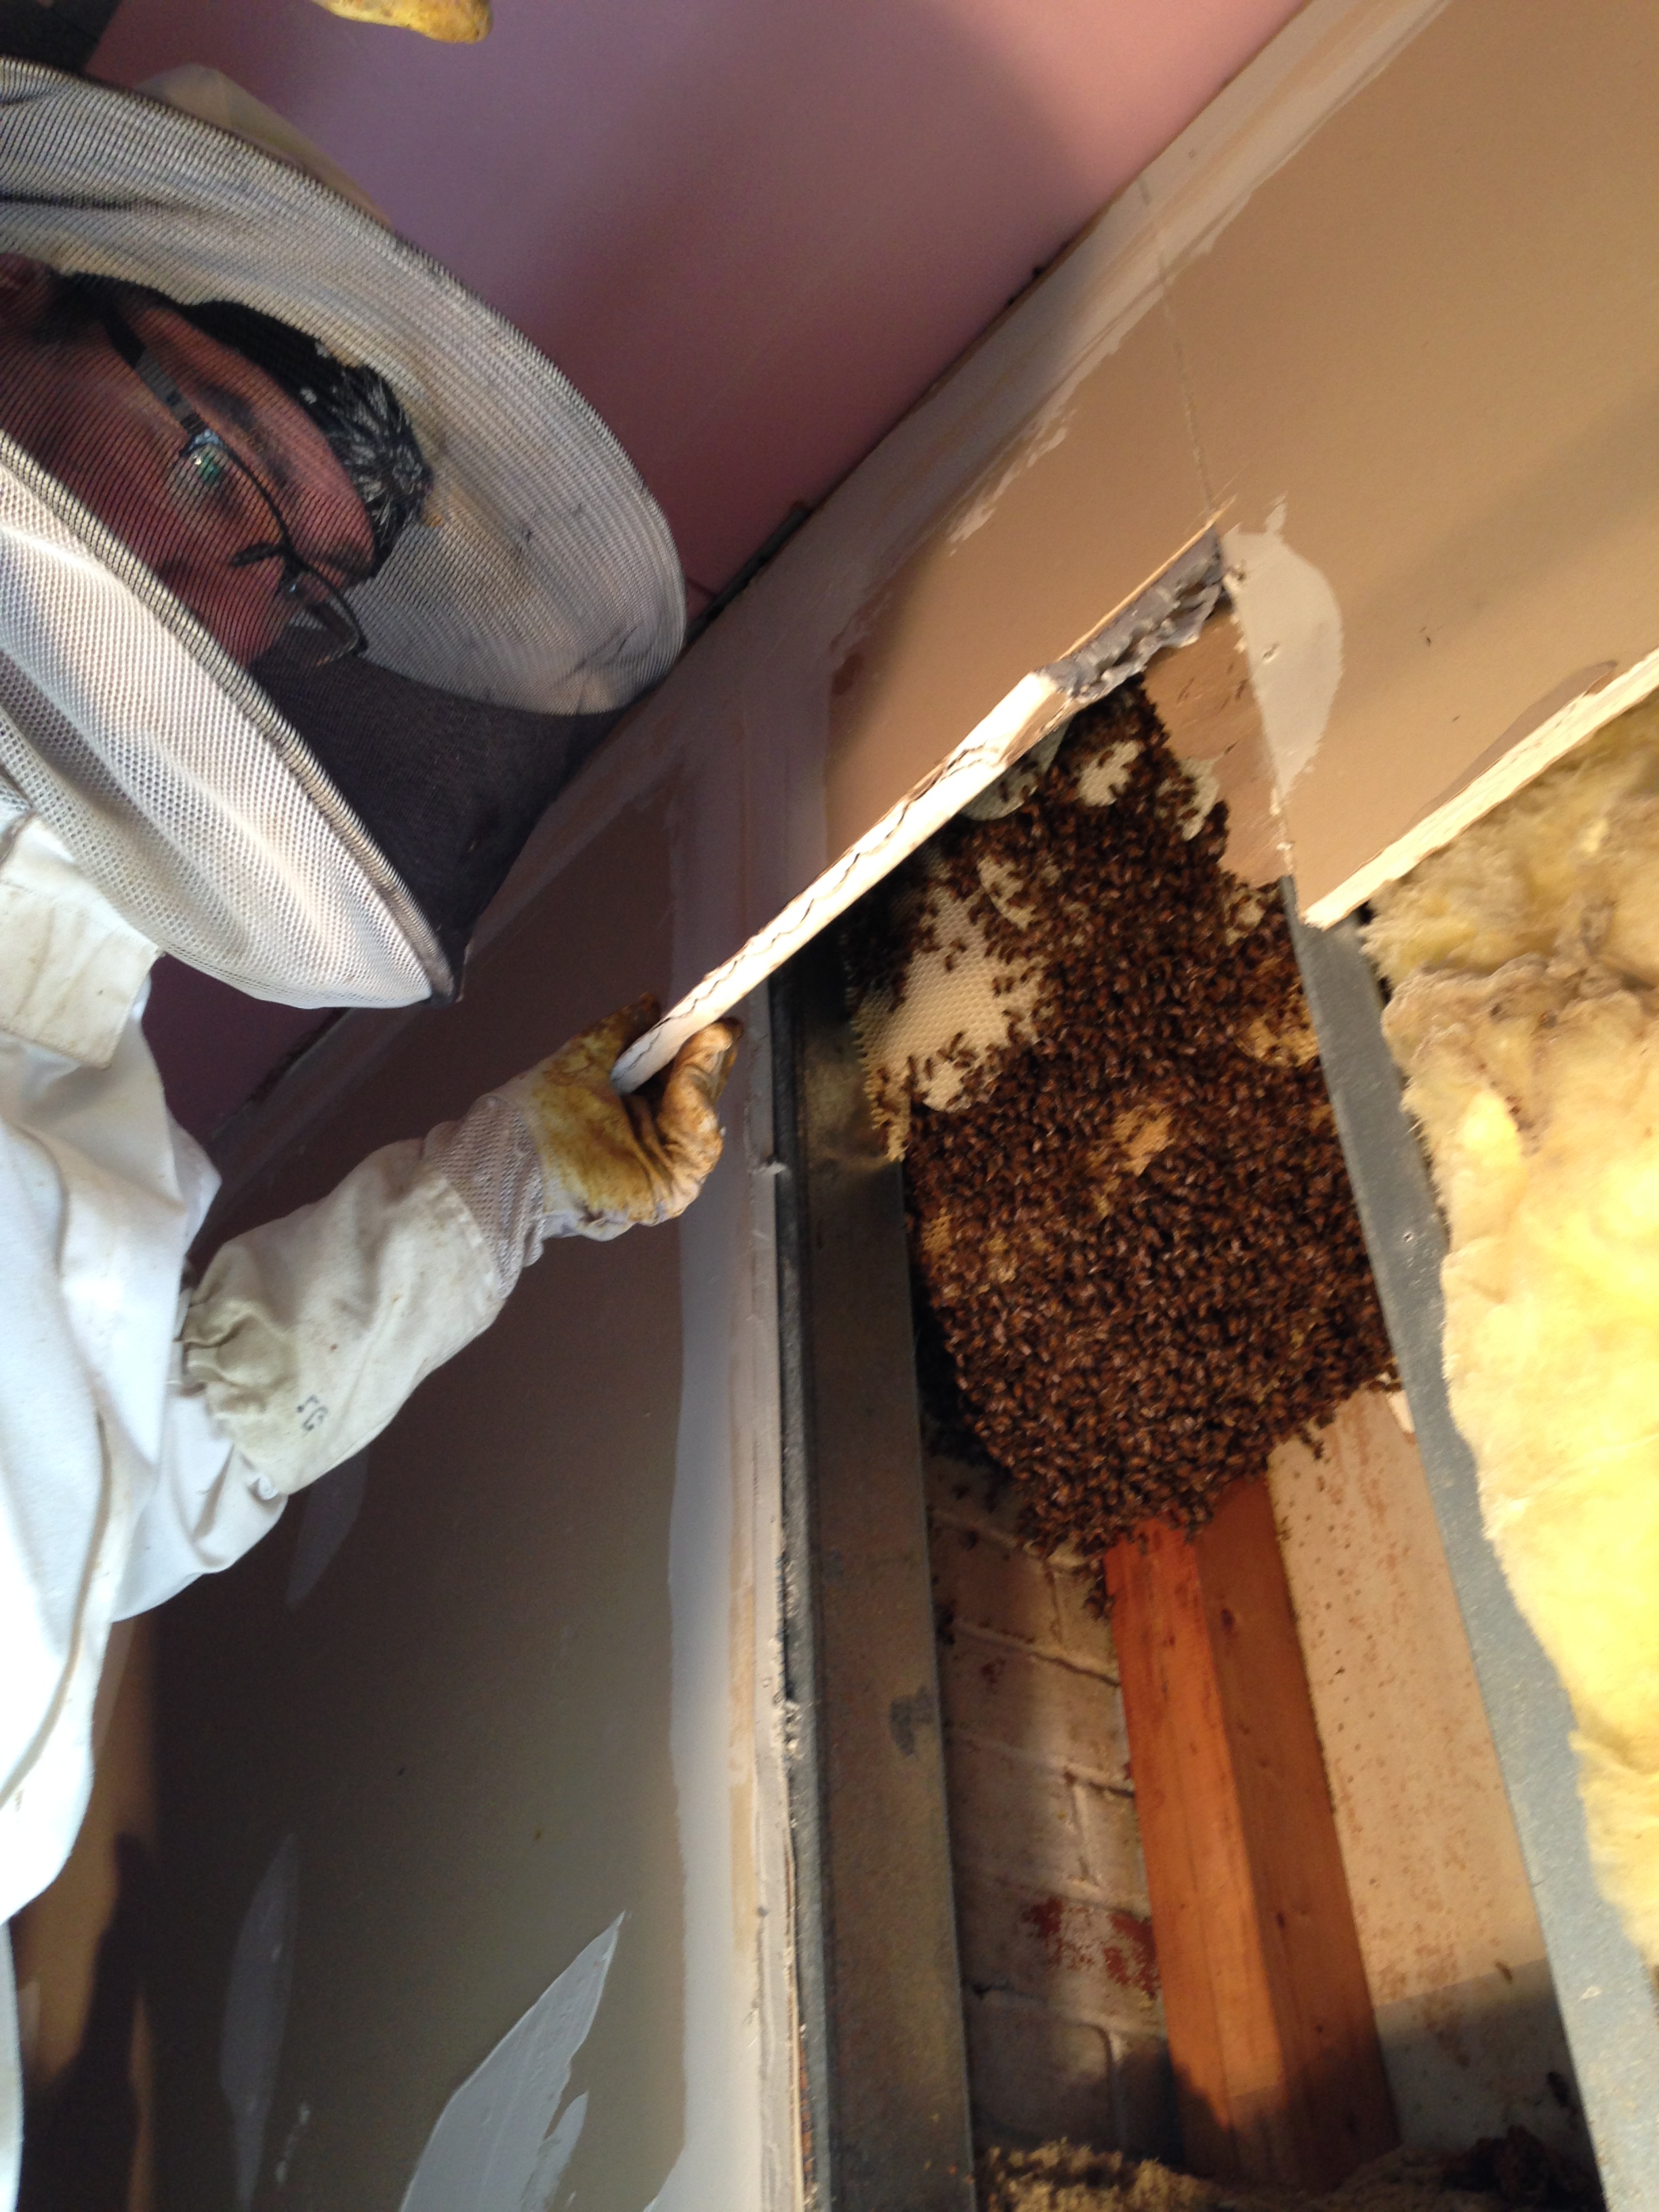
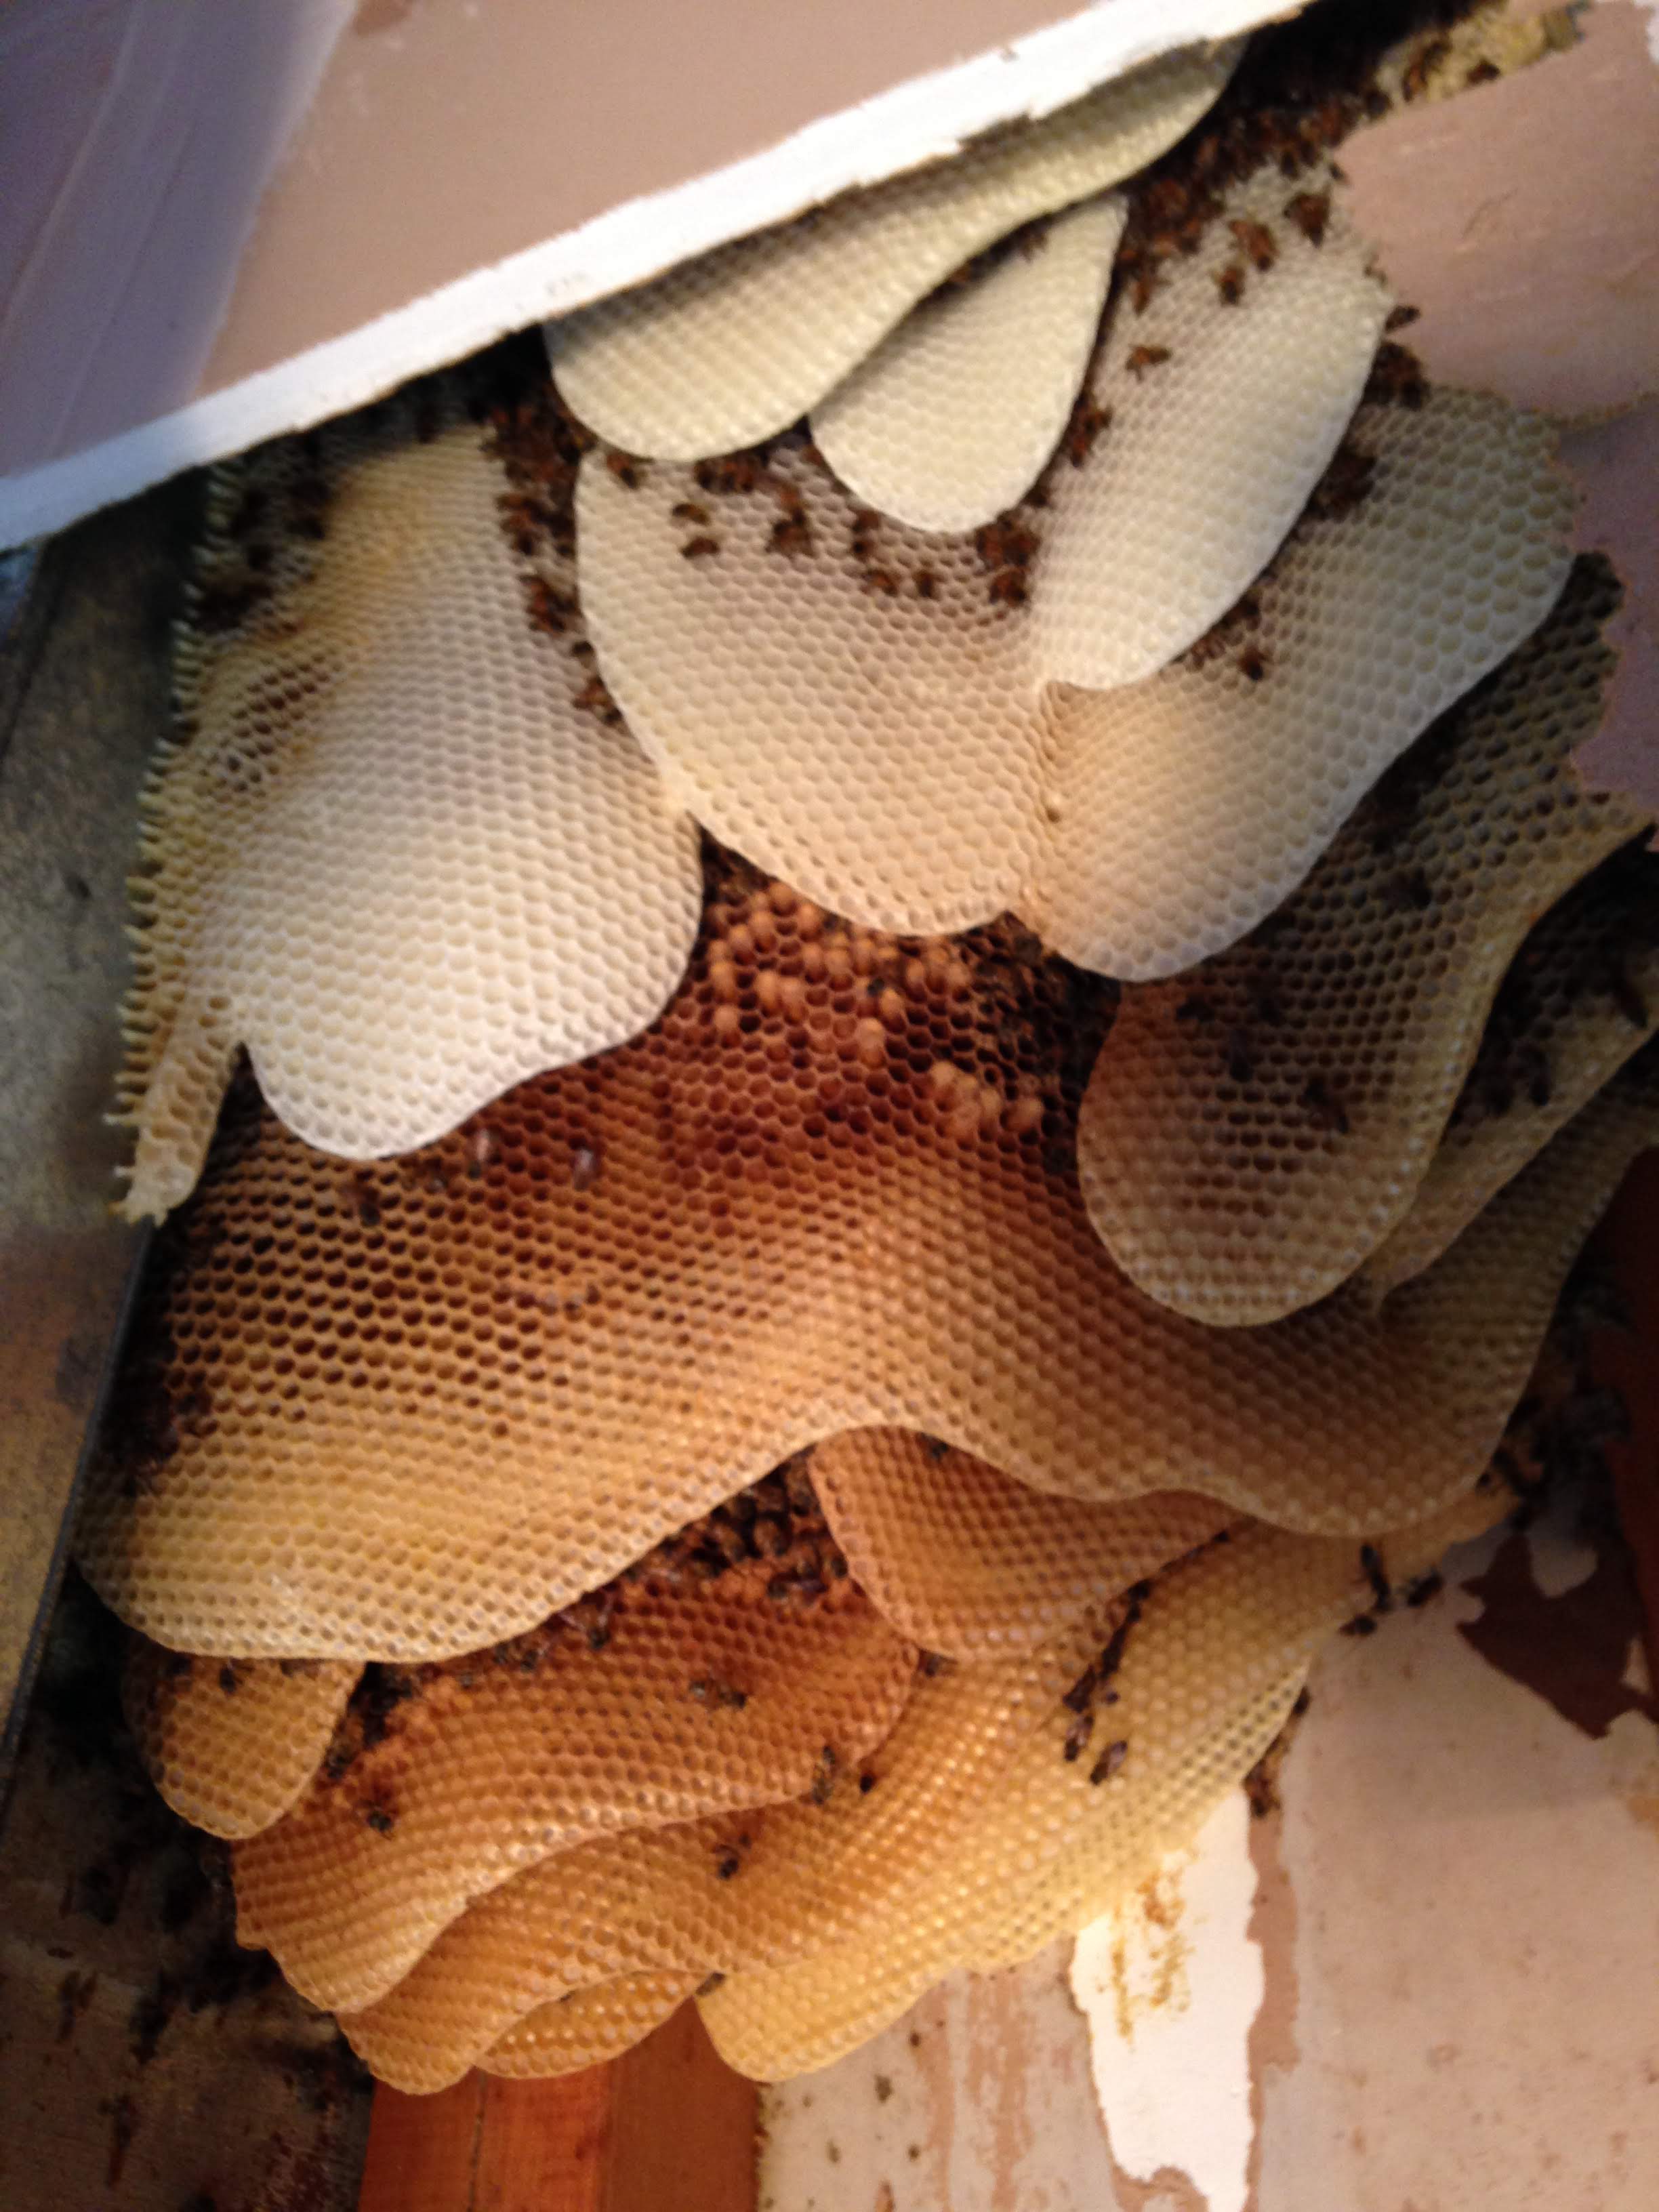
So Tim began by cutting away and removing the drywall. I gathered, broke-down and crammed all the waste into the giant trash bags. We were in a very small space with no need for unwanted clutter. We knew there were a lot of bees, but honestly we were a bit surprised by their strength. The comb was beautiful and fortunately, the bees were fairly calm. (At least in the beginning).
Next came time for our Homemade Bee Vac. It’s always helpful once you get some of the bees out of the way and somewhere “safe”. This particular hive seemed to be never-ending. We took turns vacuuming for somewhere near 4 hours the first day and still had a lot more to get. Even though we watch for the queen, it’s nearly impossible to actually be certain if we’ve captured her within the masses of some of the cut-outs we’ve seen as well as in swarms. A lot of times we can’t be certain until we witness their demeanor once settled back home. Other times, we can tell almost instantly.
Once a large portion of the honeybees are removed, we began removing some of the honeycomb layers. Cutting into all that precious honeycomb always makes us feel guilty. It’s comparable to tearing up an artist’s valuable sculpture. We are only trying to give them a better home in the end, so no real harm is ever done.
We cut the honeycomb in sizes that fits in between the top & bottom bars of the deep frames. Did you know: Honey bees build the hexagonal cells at an upward angle so the nectar doesn’t drip out and that is why we are careful which direction we attach the chunks with the rubber bands into the frames. We then place these frames back into a deep hive box for them to re-use. This gives them a place to start in their new home once we get them settled in. Fully ‘Drawn Wax Honeycomb’ is a precious commodity for Beekeepers. (More on that later.) Eventually they will build onto that honeycomb and fill up the frames just as they would from a blank foundation and we will find the rubber bands pulled outside of the hive.
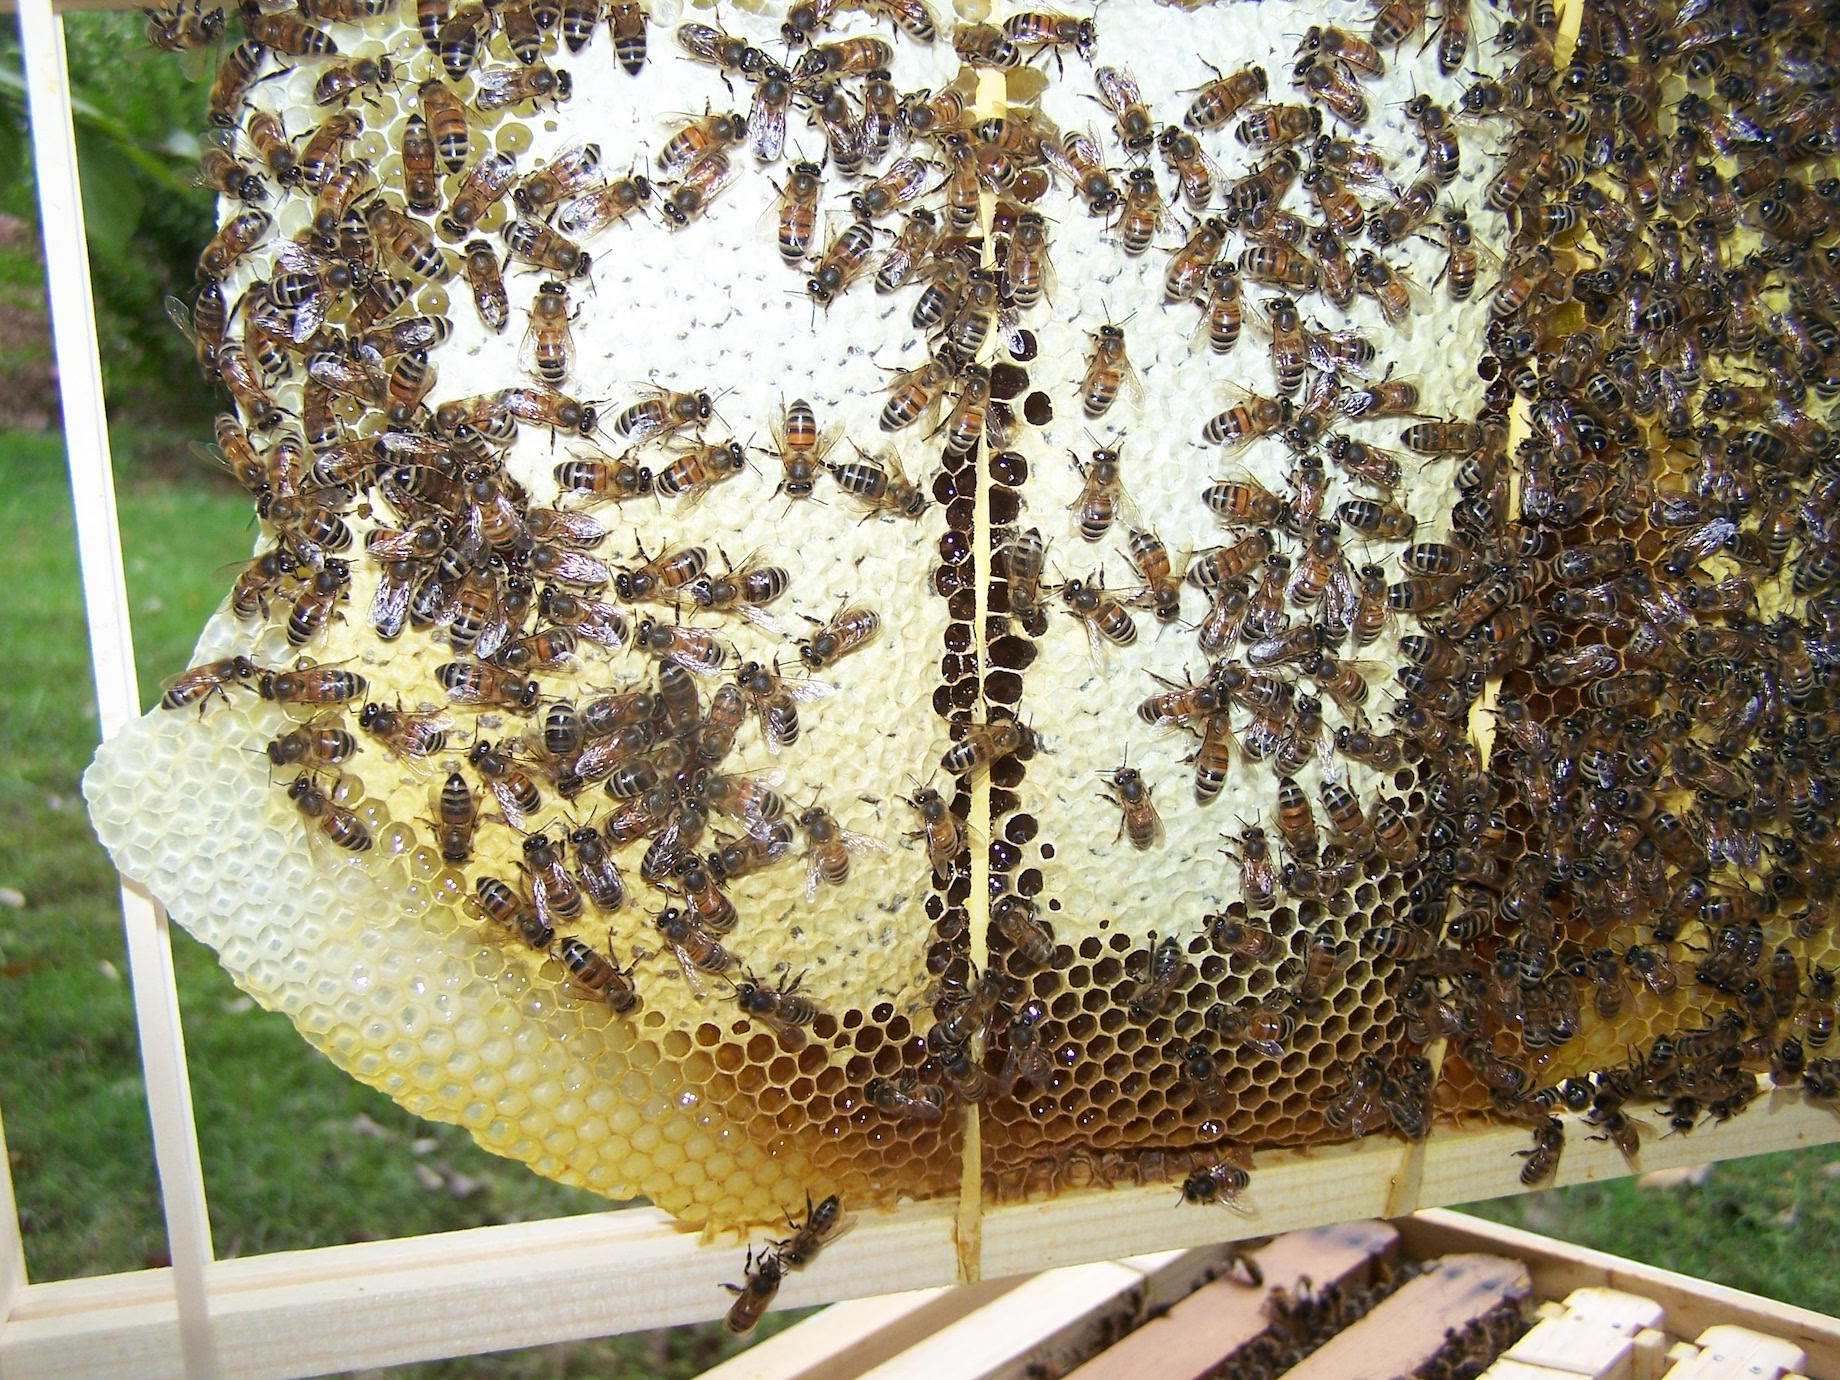
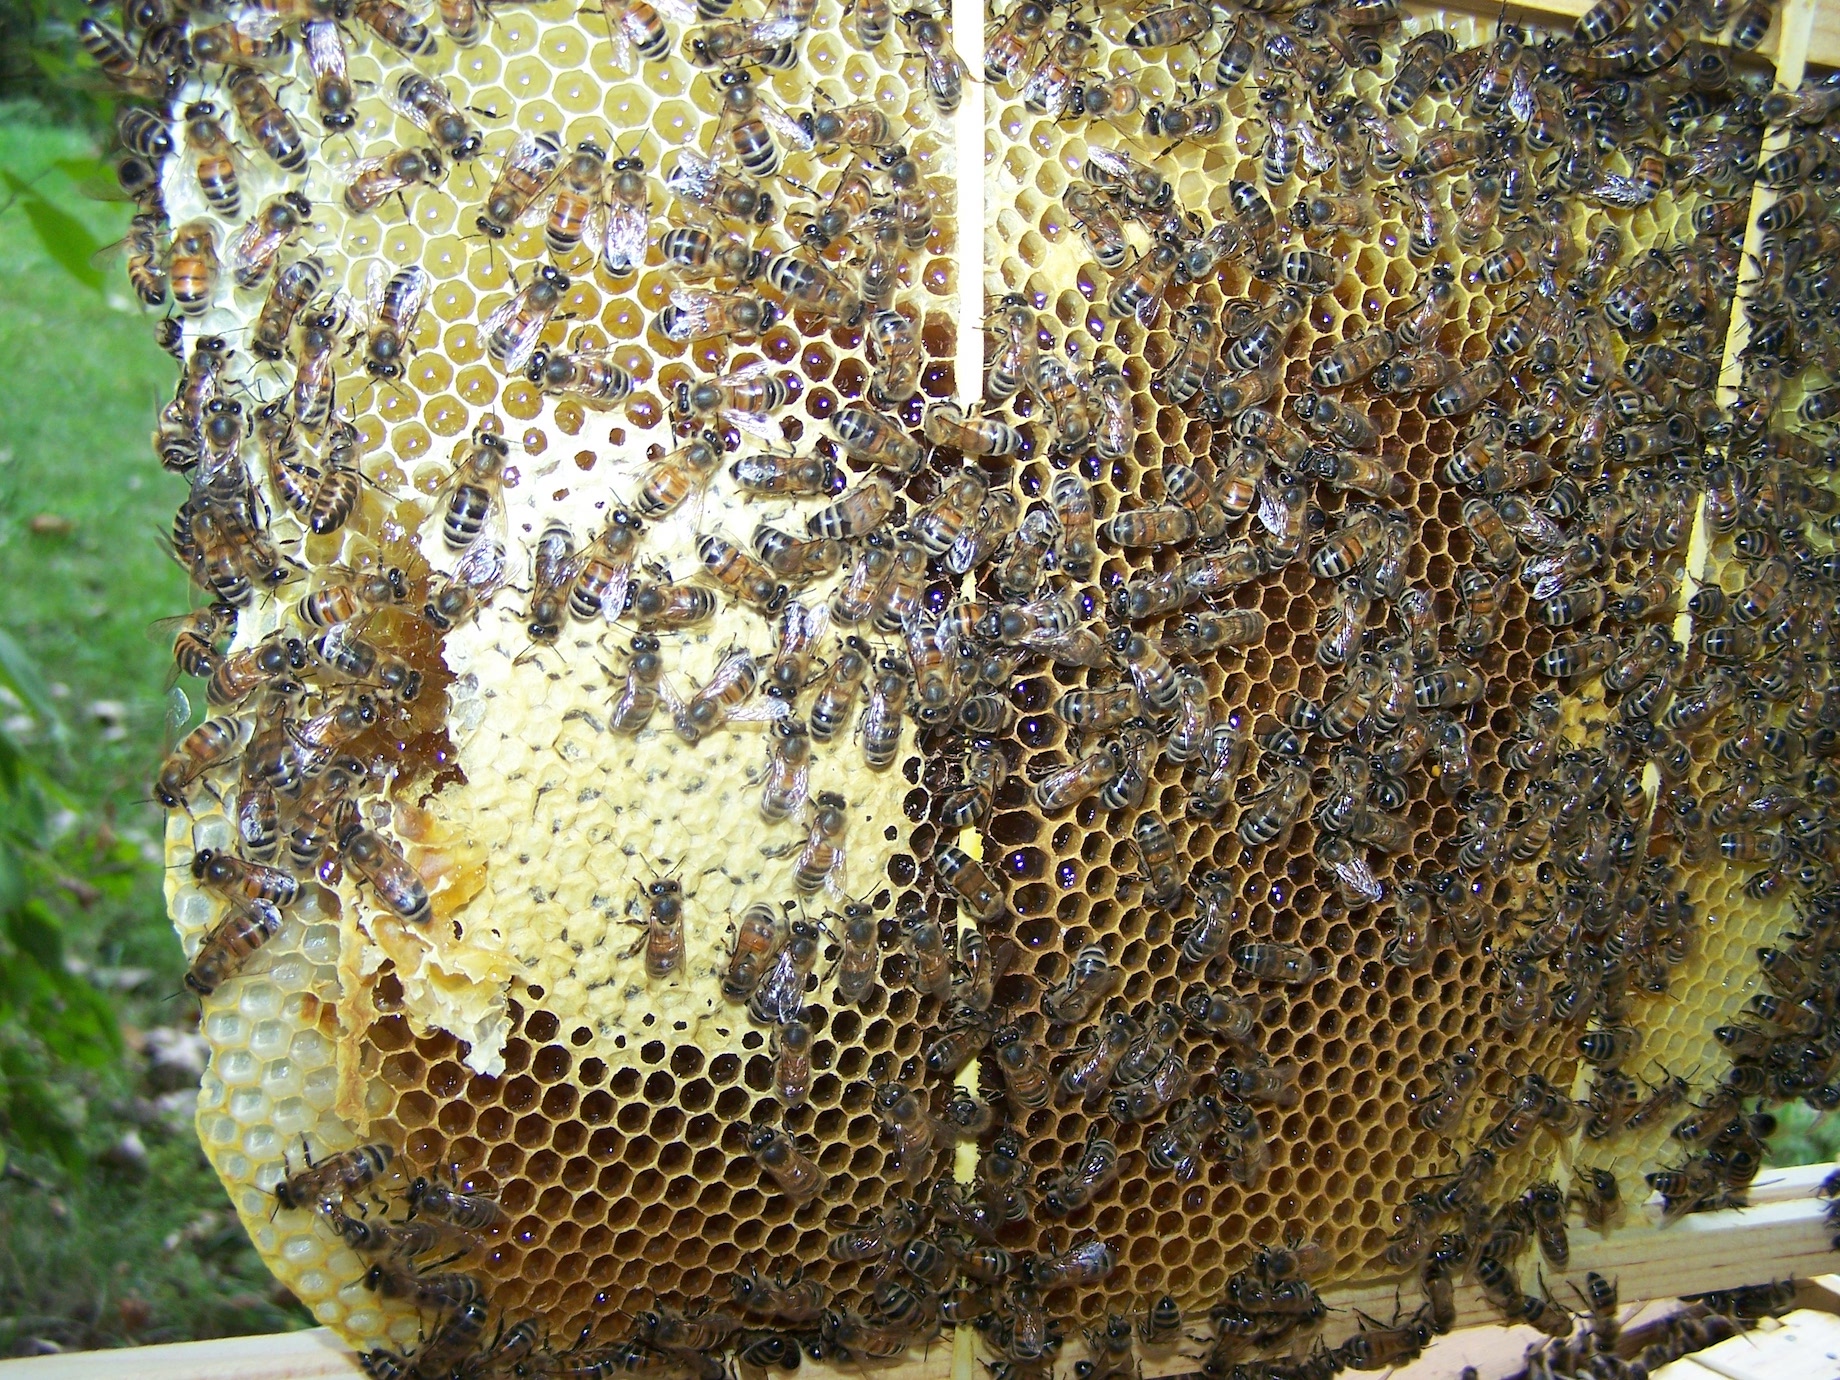
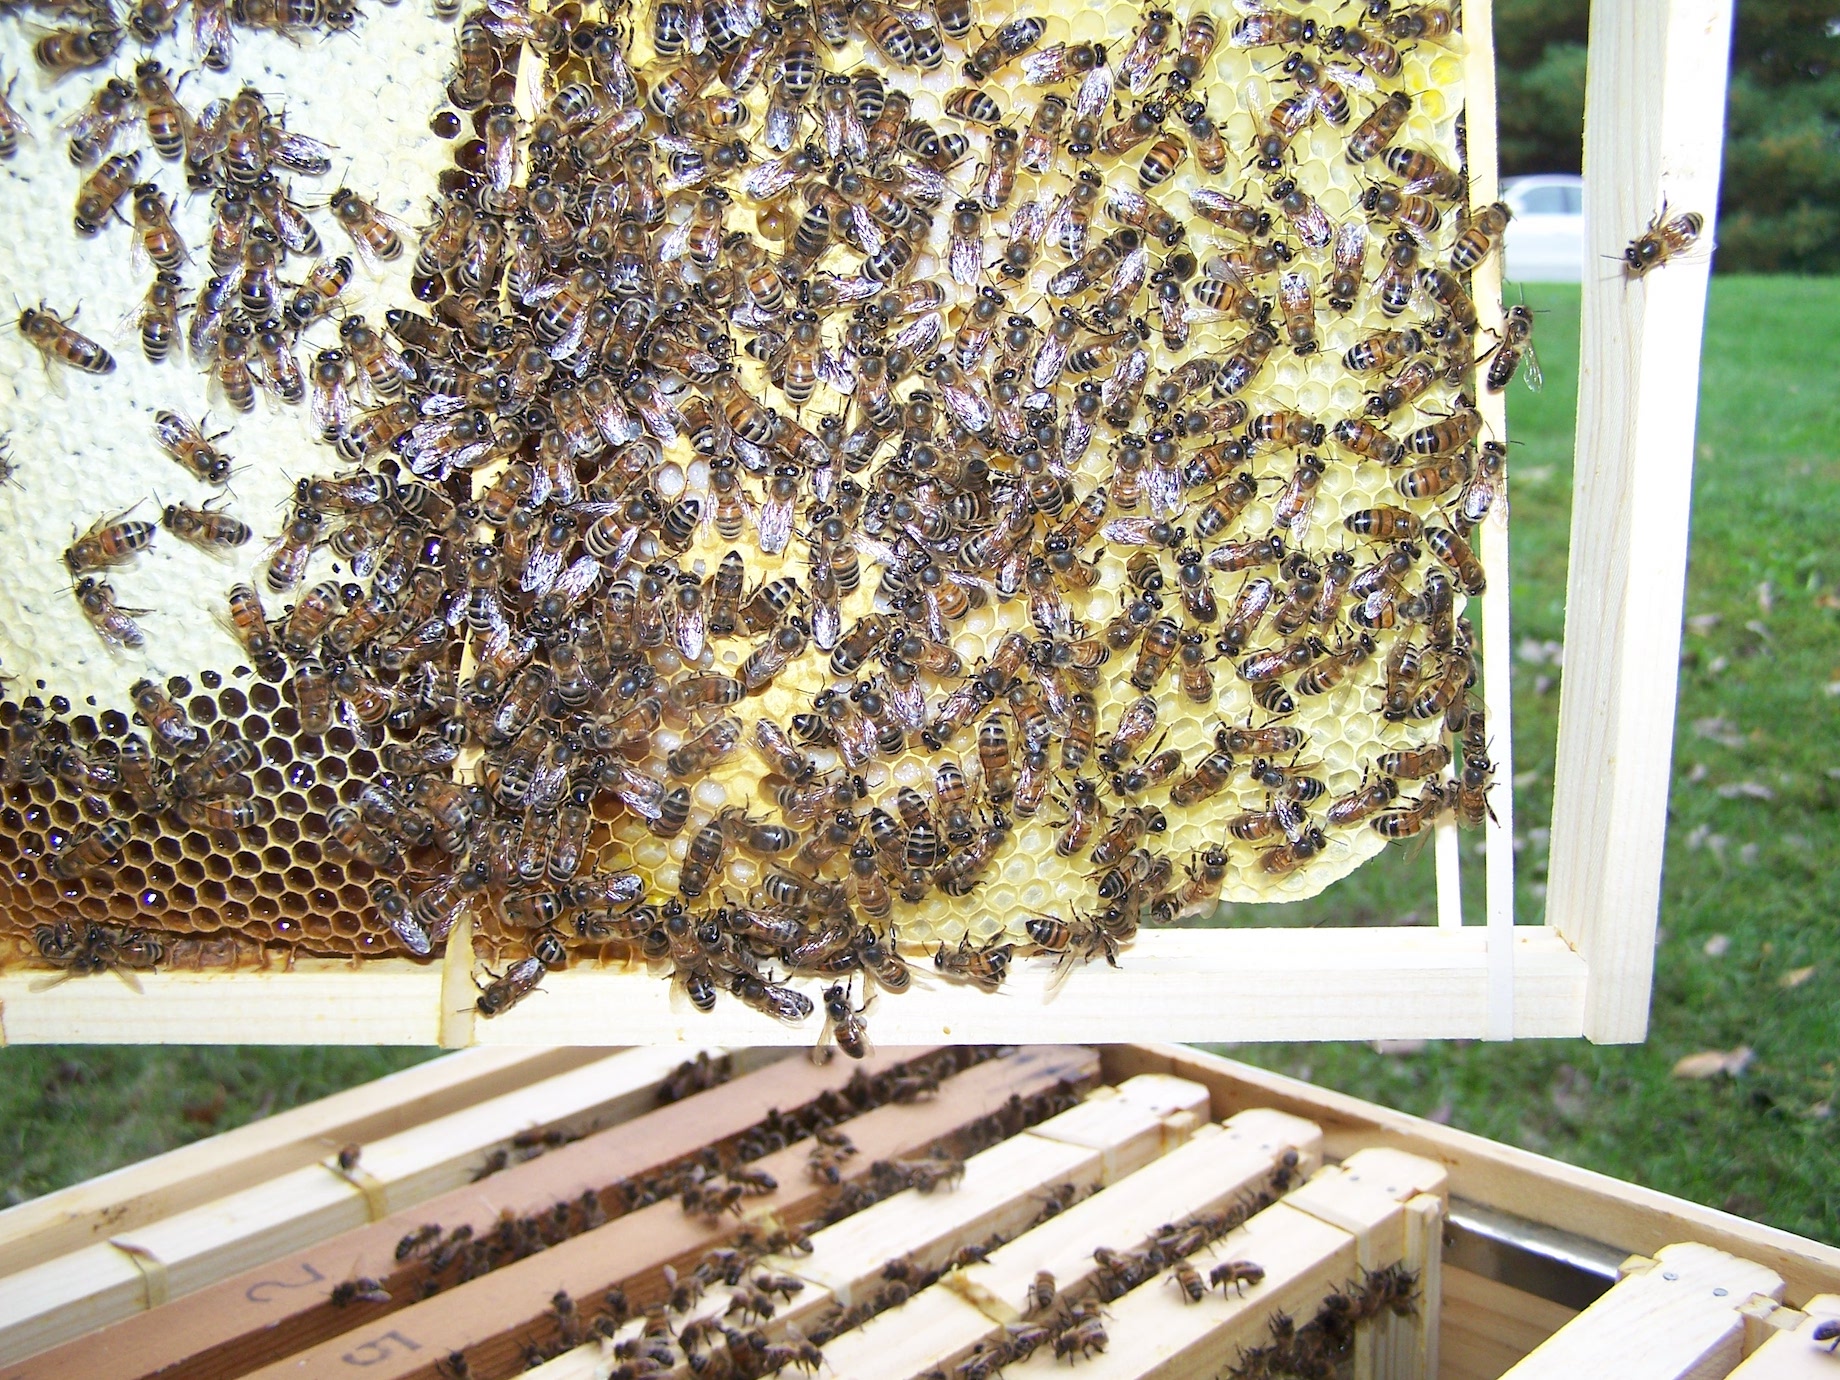
Not all of the honeycomb can be saved this way, but none of it will ever go to waste. It will be used for melting down and painting onto foundation that occasionally, for various reasons, the bees won’t use. Or it can be used for coating garden tools or water proofing things or for many other needs around home.
From the cut-out, there was at least 60 lbs. of honey in that colony. Some got fed back to them, and some got set out for a free-for-all, or open feeding. You do NOT want to use honey for personal consumption from a structure that has man-made materials like insulation and chemically treated materials and the like!
Day #2 was much easier, as we already had most of the “hard” work done. There was still quite a cluster of bees that had built back up in one area and we suspected the queen may still be in that cluster. We vacuumed it up and decided we did what we could for this colony and are thankful that the building manager was so graciously adamant about “Saving the Bees”! There was no way for us to completely seal the area where the bees were using as an entrance from the outside of the brick building. So the plan was to get what remaining bees that we could and just finish the clean-up. With the manager’s permission, we used an all-purpose sealer in obvious holes in hopes to detour any of the stragglers from re-entering the building. We cleaned and swept then loaded up all of our equipment and headed home with the last little ball of bees and released them into their readily awaiting and welcoming hive.
